
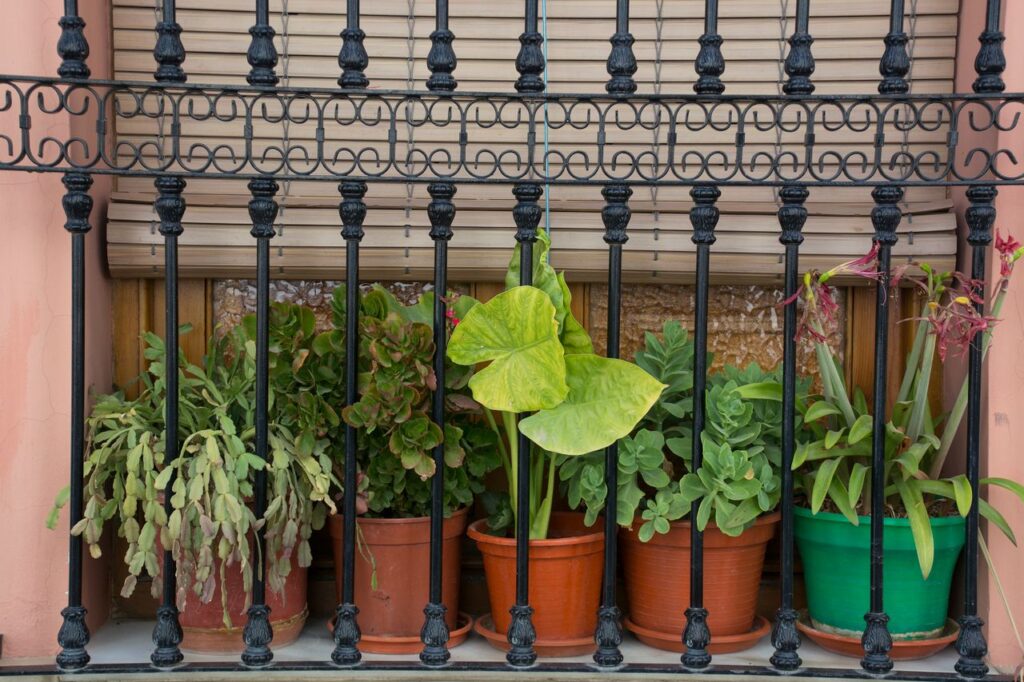
To flush excess fertiliser salts from container soil, slowly apply clean water until the entire root zone is thoroughly wet and a generous amount of water drains freely from the bottom of the pot.
That drainage water carries some dissolved fertiliser salts out of the growing medium.
But flushing only works properly when the container has good drainage.
If the pot is already waterlogged, has blocked drainage holes, or contains very dense soil, repeatedly adding water can damage roots instead of helping them.
So before flushing, first ask:
Is excess fertiliser salt really the problem, and can this pot drain properly?
What Does Flushing Actually Do?
Fertiliser salts dissolve in soil water.
When clean water moves through the growing medium, some of those dissolved salts move with it.
This process is called leaching.
The goal is to reduce the concentration of soluble minerals around the roots.
Flushing does not remove every nutrient from the pot.
It simply lowers excessive concentrations when enough water passes through the root zone.
When Might You Need to Flush a Pot?
Flushing may be useful when:
you accidentally applied far too much liquid fertiliser,
too much granular fertiliser has dissolved,
fertiliser has been applied repeatedly for a long period,
white mineral crusting is appearing,
the plant is showing symptoms consistent with salt stress,
or electrical conductivity testing suggests excessive dissolved salts.
Common salt-stress symptoms can include:
brown leaf tips,
scorched leaf margins,
wilting despite moist soil,
slow growth,
and declining root health.
But these symptoms can also have other causes.
Do Not Flush Every Plant Just Because It Looks Unhappy
Yellowing or wilting does not automatically mean excessive fertiliser.
Similar symptoms may result from:
root rot,
underwatering,
waterlogging,
heat stress,
nutrient deficiency,
or disease.
If a plant has barely been fertilised, salt buildup is less likely.
Review what has actually been applied before deciding to flush.
First, Stop Fertilising
If excessive fertiliser salts are suspected, pause additional feeding.
Do not flush the pot and then immediately add another fertiliser dose.
That defeats the purpose.
Give the root zone time to return to a more manageable nutrient concentration.
Remove Any Undissolved Excess Fertiliser
If you have just accidentally spilled too much granular fertiliser onto the surface, remove as much visible excess as practical before watering.
Do this gently.
Avoid digging deeply through the roots.
Every granule you remove before it dissolves is one less source of salts that needs to be washed through the pot.
Check the Drainage Holes
Before flushing, make sure water can leave the container freely.
Check that:
drainage holes are open,
the pot is not sitting in trapped water,
and the growing medium is not so compacted that water cannot move through it properly.
If drainage is blocked, fix that first.
Flushing a pot without drainage simply turns it into a bucket of fertiliser solution.
Use Clean Water
For ordinary home gardening, use the cleanest practical irrigation water available.
The flushing water itself should not contain high levels of dissolved salts.
For most Malaysian households using ordinary treated tap water, this is generally practical for routine container management.
If you already know your water source is highly saline or unusually mineral-rich, it may be worth considering its contribution to the problem.
How to Flush the Pot
Place the container somewhere drainage water can escape safely.
Then water slowly across the entire soil surface.
Do not pour all the water into one corner.
You want the entire root zone to become evenly wet.
Continue until water is flowing freely from the drainage holes.
Allow that drainage to leave the container.
The aim is to move fresh water through the growing medium rather than merely wetting the surface.
Slow Watering Works Better Than One Violent Pour
If water is poured too quickly, it may:
run down gaps beside the pot,
channel through only part of the soil,
or spill over the edge.
This means much of the root zone may not actually be flushed.
Applying water gradually gives the growing medium time to absorb it before excess begins draining.
If the mix has become hydrophobic — meaning it repels water — wet it gradually first.
Should You Use a Fixed Amount of Water?
There is no perfect universal volume for every pot.
The amount required depends on:
container size,
growing medium,
how badly salts have accumulated,
and how freely the pot drains.
The practical goal is to achieve substantial drainage through the whole root zone, not to follow an arbitrary litre number.
A large container naturally requires much more water than a small herb pot.
Do Not Flush an Already Waterlogged Pot
This is especially important in Malaysia.
If your container has been sitting through several days of heavy tropical rain and the soil is already saturated, do not keep pouring more water into it.
Waterlogged roots are already short of oxygen.
More water can worsen root damage.
Let the container drain and regain some air first.
Then reassess whether additional leaching is actually necessary.
Heavy Malaysian Rain May Already Be Flushing the Pot
Containers exposed directly to monsoon or thunderstorm rain may naturally receive significant leaching.
If a pot has just experienced several hours of heavy rain, additional manual flushing may be unnecessary.
The bigger concern may instead be:
waterlogging,
nutrient loss,
or poor root aeration.
Covered balcony plants are different because they may receive little or no natural leaching.
Covered Pots May Need Flushing More Often
A chilli growing under a terrace-house awning or apartment balcony may receive fertiliser month after month without heavy rain ever washing through the pot.
If the gardener also waters only small amounts each time, salts can slowly accumulate.
For these pots, occasional deep watering with good drainage can help prevent concentration from becoming excessive.
This does not mean soaking every pot on a rigid monthly schedule.
Use plant condition and fertiliser history as your guide.
Let the Pot Drain Fully Afterwards
Once flushing is complete, allow excess water to drain.
Do not place the container immediately into a saucer full of runoff.
The root zone needs oxygen again.
If possible, make sure the container is positioned so that drainage holes remain unobstructed.
Do Not Keep Flushing Repeatedly for Several Days
More flushing is not automatically better.
Repeated saturation can cause:
oxygen deprivation,
root rot,
nutrient loss,
and general root stress.
One properly executed leaching event may be enough for a mild or moderate buildup.
Severe cases may require further management, but always reassess the moisture condition before adding more water.
What If the Pot Still Looks Salty Afterwards?
Visible white crust may remain on:
the pot rim,
outer container surface,
or upper soil layer.
This does not necessarily mean flushing failed.
Some deposits may have dried onto the pot itself.
You can wipe mineral residue from the container surface separately.
What matters most is reducing excessive salt concentration around the roots.
Should You Scrape Off the Top Layer?
If heavy salt crust has developed on the soil surface, carefully removing a thin contaminated surface layer may sometimes be useful.
Do not dig deeply into active roots.
Replace only what is necessary with appropriate fresh growing medium.
For mild crusting, flushing alone may be sufficient.
When Is Repotting Better Than Flushing?
Flushing may not solve every severe case.
Consider repotting when:
the growing medium is badly degraded,
drainage is poor,
the plant is extremely root-bound,
salt problems repeatedly return,
or a major fertiliser accident has contaminated a small volume of soil.
Repotting adds stress, so it should not be the automatic first response.
A mildly affected plant in a well-drained pot may recover perfectly well without it.
Do Not Wash Every Bit of Soil from the Roots
If repotting becomes necessary, avoid aggressively washing or stripping healthy roots unless there is a strong reason.
Fine feeder roots are delicate.
A plant already suffering from salt stress does not benefit from unnecessary additional root injury.
What Happens to Nutrients During Flushing?
Flushing cannot distinguish between “bad excess salts” and “useful nutrients.”
Some desirable nutrients will also leave the pot.
That is expected.
But do not immediately replace them.
The priority is restoring a healthy root environment.
Once the plant stabilises and resumes healthy growth, you can restart an appropriate feeding programme.
When Should You Fertilise Again?
Wait until:
the plant is stable,
the root zone is no longer excessively wet,
salt-stress symptoms are no longer progressing,
and healthy new growth is appearing.
Then resume feeding at the correct rate for the plant and product.
Do not double the fertiliser to compensate for nutrients lost during flushing.
The goal was to lower concentration.
Adding a large dose immediately afterwards recreates the problem.
Old Burnt Leaves Will Not Repair Themselves
If leaf tips have turned brown and died, flushing will not make them green again.
Dead plant tissue cannot regenerate.
Judge recovery by:
new leaves,
new shoots,
reduced wilting,
and whether further scorch stops appearing.
This prevents unnecessary repeated flushing because the original damage remains visible.
Keep Partly Healthy Leaves
Do not remove every leaf with a brown tip.
If most of the leaf remains green, it can still photosynthesise and help the plant recover.
Remove leaves mainly when they are:
almost entirely dead,
diseased,
or clearly no longer functional.
Prevent the Problem from Returning
Once the plant recovers, review what caused the buildup.
Possible causes include:
fertiliser applied too heavily,
feeding too often,
several fertilisers used together,
poor drainage,
small containers,
too little drainage during normal watering,
or repeatedly allowing the pot to dry severely.
Correcting the system matters more than performing another flush later.
Water the Whole Root Zone During Normal Care
One reason salts accumulate is repeated shallow watering.
If you only wet the top layer, very little water moves through the lower root zone.
When watering is needed, aim to moisten the active root zone properly.
Allow drainage where appropriate.
Then wait until the crop genuinely needs water again.
Keep Track of Every Fertiliser Product
Write down:
product,
NPK,
application rate,
date,
and pot.
This becomes especially valuable when using:
slow-release fertiliser,
liquid feeds,
calcium,
magnesium,
and micronutrients.
It is easy to forget how many different products are contributing dissolved minerals to the same container.
A Simple Flushing Checklist
Before flushing, ask:
1. Is there a realistic reason to suspect excessive fertiliser salts?
2. Have I stopped additional fertiliser?
3. Can I remove visible excess granules first?
4. Does the pot drain freely?
5. Is the soil currently waterlogged?
6. Has heavy rain already provided significant leaching?
7. Can clean water pass through the entire root zone?
8. Can runoff drain away rather than sit underneath the pot?
9. Will I allow the soil to regain normal moisture afterwards?
10. Have I identified what caused the buildup in the first place?
If the pot cannot drain properly, solve that before flushing.
Flushing Is a Reset, Not a Routine Fertiliser Technique
The goal is not to constantly wash nutrients out and then add them back.
A well-managed container should receive:
appropriate fertiliser,
appropriate water,
and enough drainage
to keep nutrient concentration within a useful range.
Flushing becomes necessary when that balance has shifted too far toward accumulation.
At the end of the day, flushing excess fertiliser salts from container soil means using clean water to dissolve and carry excessive soluble minerals through a well-drained root zone and out of the pot. It can be very useful after over-fertilisation or long-term salt buildup, but it should never be performed blindly on waterlogged soil. In Malaysian home gardens, pay particular attention to covered balcony pots that receive little natural rainfall, as well as containers exposed to prolonged monsoon rain that may already be heavily leached. Flush when there is a reason, protect root oxygen afterwards, and only restart fertilising once healthy growth shows that the plant is ready.
Ever had to flush a chilli, tomato, brinjal, herb, or other potted plant after fertilising too heavily? Share what happened, how you flushed the pot, and what the new growth looked like afterwards by tagging @projectharvest.my on Instagram. Real Malaysian container-garden recovery stories can help other growers learn when flushing genuinely helps — and when adding more water would only create a second problem.