Let’s be honest — we’ve all done the “Where did I put my cangkul?!” dance before.
Whether it’s your watering can hiding behind the pokok pandan or your gloves mysteriously migrating to the compost bin… keeping your garden tools organized is a real challenge.
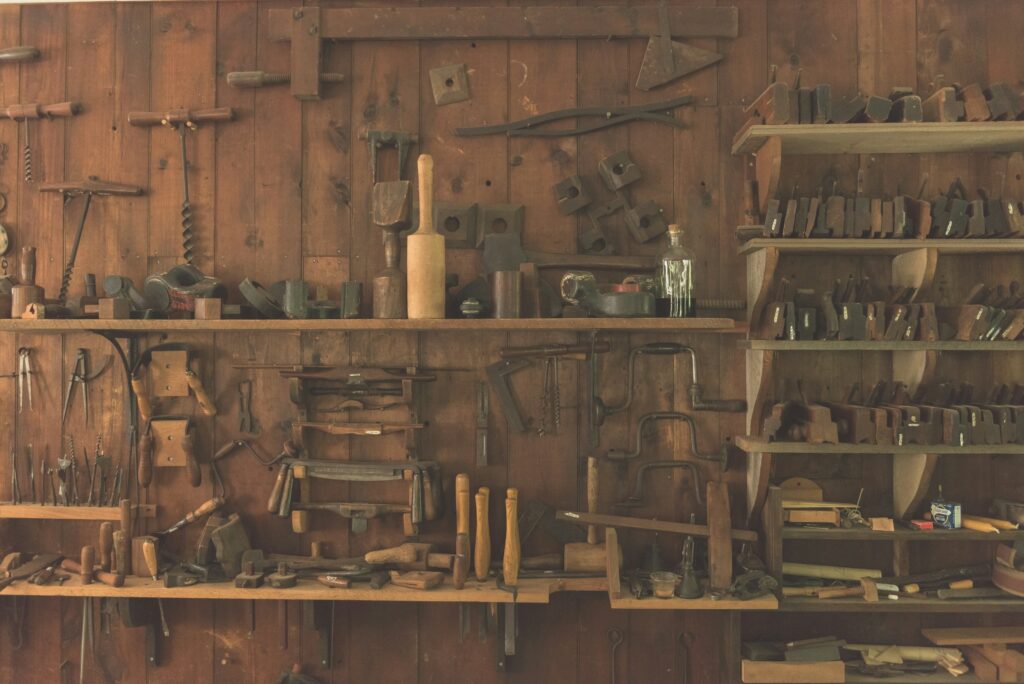
But here’s the thing: you don’t need to buy an expensive storage system. In true Malaysian DIY spirit, you can build a sturdy, stylish garden tool rack using only leftover scrap wood, some screws, and a bit of imagination.
Here’s how to do it — budget-style, kampung-style, HARVEST-style.
🌳 Why Build One?
- ✅ Saves time (no more hunting for tools!)
- ✅ Reduces rust & wear on tools
- ✅ Keeps your garden tidy & efficient
- ✅ Great weekend project using 100% recycled materials
- ✅ Looks surprisingly aesthetic 💅🏽
🪵 What You’ll Need
Materials (use what you already have if possible):
- Scrap wooden planks or pallet wood (3–4 pcs)
- Small blocks or pegs (can be leftover branches, wood chunks)
- Nails or screws
- Wall mounts or back support wood (optional)
- Sandpaper
- Wood varnish or paint (optional)
Tools:
- Drill or hammer
- Saw (hand saw or power saw)
- Measuring tape
- Pencil/marker
- Level (optional, but helps!)
📏 Step-by-Step Build Guide
🧱 Step 1: Plan Your Rack
First, decide:
- How many tools you want to hang?
- Long-handled tools like cangkul, penyodok?
- Smaller items like gloves, pruners?
Measure and mark where each peg will go. Keep 15–20cm spacing for large tools.
🔨 Step 2: Assemble the Frame
- Sand all wood pieces to remove splinters
- Attach vertical support planks if freestanding, or screw horizontal plank to a wall/fence
- Drill or hammer in pegs at marked intervals
- You can use angled pegs (slanting upward) for better grip
- Add a bottom “shelf” if you want to rest buckets or watering cans
✅ Tip: Add small nails or hooks in between pegs for gloves, keys, scissors, etc.
🎨 Step 3: Decorate (Optional but Fun!)
- Paint the rack in garden green, pastel yellow, or HARVEST beige 🎨
- Use stencils to label “CANGKUL”, “GLOVES”, “WATERING”
- Varnish for a weather-resistant finish (especially if exposed to rain)
🌧️ Outdoor or Indoor?
This tool rack can work:
- Outdoor wall (garden side fence, side of house)
- Inside a shed or covered porch
- Balcony garden — just scale it smaller!
If your area gets heavy rain, use hardwood or coat the rack with clear varnish for protection.
🪴 Add-Ons for Extra Usefulness
- Hang a basket to store small tools or seed packets
- Attach a mini whiteboard for jotting down what to do this week
- Screw in a recycled tin can to store twine or labels
- Add a small roof using zinc or old plastic to protect from rain
🧠 Tips for Success
- Make sure all screws/nails are tight — garden tools can be heavy
- Use a level to keep the rack straight (no falling rakes, please!)
- Label everything! Visual cue = less headache
♻️ Why Scrap Wood?
- Diverts waste from landfill
- Reduces your carbon footprint
- Costs literally RM0
- Adds a rustic, personal touch to your garden setup
Look out for:
- Old furniture by the roadside
- Wooden crate delivery boxes
- Pallet wood from nearby shops
📢 Always ask for permission before “rescuing” wood!
📢 Show Us Your Rack (No, Not That One)
Made your own garden rack?
📸 Snap a pic and tag @projectharvest.my on IG — we’d love to feature your masterpiece!
Let’s inspire more Malaysians to go green, build smart, and stay organized.
🔖 Hashtags to use:#DIYGardenMY #GardenToolRack #ScrapWoodProject #ProjectHARVEST #GardenStorageMalaysia