
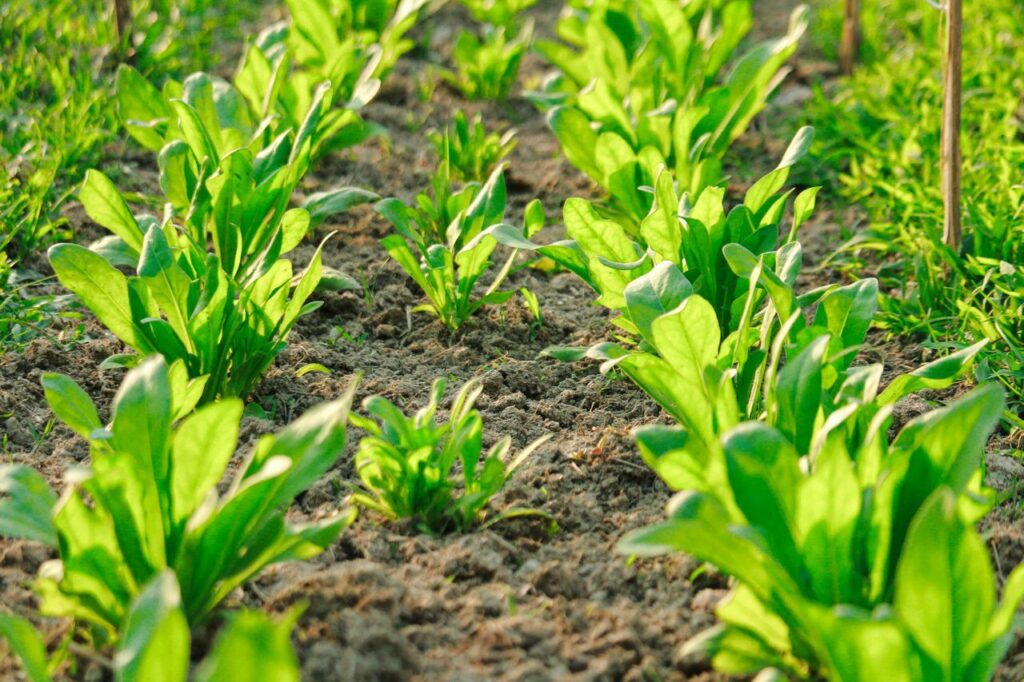
A good 3-month edible garden should give you something to harvest early, something productive in the middle, and larger crops developing for later harvests.
Instead of planting everything on the same weekend and hoping for the best, plan the garden in stages.
For Malaysian home gardeners, a practical three-month plan might combine fast leafy vegetables such as bayam and sawi, regularly harvested herbs such as basil, medium-speed crops such as okra and cucumber, and longer-lasting plants such as chillies and brinjal.
The goal is not to harvest everything within exactly 90 days.
It is to build a garden that becomes progressively more productive over those three months.
Start with What Your Household Actually Eats
Before choosing crops, look at your kitchen.
What vegetables and herbs do you regularly buy?
If your family uses curry leaves, chillies, pandan, basil, sawi, bayam, okra, and cucumber regularly, those crops are far more useful than growing something simply because it looks interesting online.
An edible garden becomes much more satisfying when the harvest actually replaces or supplements ingredients you would otherwise buy.
Make a short list of around five to eight crops before planning the space.
For beginners, fewer crops managed well are usually better than trying to grow twenty varieties at once.
Divide Crops by How Quickly They Produce
A simple way to plan three months is to divide your crops into three groups.
Fast Crops
These can begin providing harvests relatively quickly.
Examples include:
bayam,
sawi,
some leafy greens,
basil,
mint,
and certain other herbs.
These crops make the garden feel productive early.
Medium-Speed Crops
These need more time but may begin producing within the three-month window under good conditions.
Examples include:
okra,
cucumber,
beans,
and some quick-growing herbs.
Longer-Term Crops
These may still be establishing or only beginning production by the end of three months.
Examples include:
chillies,
brinjal,
tomatoes,
and some fruiting plants.
Mixing all three categories prevents the frustrating situation where your entire garden spends two months looking green but producing nothing to eat.
Plan Around Your Available Sunlight
Most fruiting vegetables need strong light.
Chillies, okra, cucumber, brinjal, and tomatoes generally perform best with several hours of direct sun.
Leafy vegetables and many herbs may tolerate somewhat less.
Observe your space before planting.
A Malaysian terrace-house garden may have intense sun at the front but only filtered light behind the house.
A balcony may receive strong morning sun but become shaded in the afternoon.
Place fruiting crops in the strongest suitable light.
Use partially shaded areas for crops that tolerate lower light levels.
Do not force every plant into the same location simply because that is where the pots fit.
Decide What Goes in Pots and What Goes in Beds
Containers are excellent for herbs, chillies, brinjal, tomatoes, and many other home crops.
Raised beds are useful for leafy vegetables, okra, beans, cucumbers, and mixed planting.
Climbing crops such as cucumber or beans can use vertical trellises, making better use of limited space.
For a small Malaysian home, you might use:
one raised bed for rotating leafy vegetables,
several medium-to-large pots for chillies and brinjal,
one trellis for cucumbers or beans,
and smaller containers near the kitchen for herbs.
You do not need a large backyard.
You need to allocate space according to how large each crop eventually becomes.
Do Not Plant Everything at Once
This is one of the most important principles.
Suppose you sow twenty sawi plants on the same day.
They may all become ready around the same period.
For a few days you have too much sawi.
Then suddenly you have none.
Instead, use succession planting.
This means sowing smaller batches at intervals.
For example, sow one group of leafy vegetables in Week 1.
Sow another batch two weeks later.
Then another after that.
The harvest becomes spread across several weeks instead of arriving all at once.
Month 1: Establish the Garden
The first month is mainly about setup and establishment.
Prepare your containers or beds.
Check drainage.
Use an appropriate growing mix.
Install trellises before vines become large.
Start longer-term plants such as chillies and brinjal from seedlings or healthy transplants where practical.
Direct sow crops such as okra, beans, bayam, or cucumber where appropriate.
Start your first batch of leafy vegetables.
The main priority during Month 1 is root establishment.
Keep moisture consistent without keeping soil saturated.
Young seedlings have limited root systems and need closer attention than established plants.
Add Fast Crops Between Slower Ones
While larger plants are still small, there may be unused space around them.
You can sometimes use this space temporarily for fast-growing leafy vegetables.
For example, a young brinjal plant may occupy only a small part of a raised bed during its first weeks.
Sawi or another quick crop can grow nearby and be harvested before the brinjal eventually needs more room.
This is sometimes called intercropping.
The important thing is to remove the temporary crop before competition becomes serious.
Do not permanently overcrowd the bed just because it looked empty at the beginning.
Month 2: Start Harvesting and Replanting
By the second month, fast-growing vegetables and herbs should begin giving you useful harvests if conditions are suitable.
Harvest leafy vegetables regularly.
Pinch basil to encourage bushier growth.
Continue picking mint where needed.
Your okra, cucumber, beans, chillies, and brinjal should be developing strongly.
Now sow another batch of leafy crops in any empty spaces.
This is where succession planting begins paying off.
Month 2 should feel less like garden construction and more like harvest plus replacement.
Every time one crop comes out, ask:
What can go into this space next?
Keep Records
A simple garden journal becomes very useful during a three-month plan.
Write down:
sowing dates,
transplanting dates,
first harvest dates,
pest problems,
watering frequency,
and which crops performed well.
You do not need a complicated spreadsheet.
Even a notebook or phone note is enough.
After three months, you will know much more about how quickly crops actually grow in your particular garden.
That information is far more useful than blindly following generic timelines.
Month 3: Build Continuity
By Month 3, your garden should contain plants at several different stages.
Some quick crops may already have completed one or two cycles.
Medium-speed crops should be producing.
Longer-term plants may be flowering or fruiting.
Instead of treating Month 3 as the end, use it to prepare the next cycle.
Remove exhausted crops.
Refresh the soil where needed.
Sow the next leafy batch.
Replace weak or unproductive plants.
Train vines.
Prune herbs.
Continue harvesting fruiting vegetables.
A good three-month plan should naturally lead into Month 4.
Use Space Vertically
Small gardens become much more productive when you use height.
Cucumbers, beans, bitter gourd, and other climbers can be trained upward.
This leaves lower growing space available for herbs or short-lived leafy vegetables.
Install the trellis before the vines become tangled.
For balconies and terrace houses, make sure supports are securely fixed.
A mature vine becomes surprisingly heavy, especially after rain.
Do Not Overcrowd for Higher Yield
More plants do not automatically mean more food.
A crowded garden can produce:
smaller plants,
poor airflow,
more disease,
more competition for water,
and lower individual yields.
Give crops enough space to reach useful size.
This matters particularly for chillies, tomatoes, brinjal, and cucumbers.
Your Month 1 seedlings may look tiny, but plan for the plant they will become in Month 3.
Plan the Watering System Early
A garden becomes much thirstier as plants mature.
Month 1 watering needs may be modest.
By Month 3, large fruiting crops and dense foliage can use much more water every day.
If you have several containers or raised beds, consider drip irrigation or self-watering containers.
Mulch exposed soil.
Group plants with similar moisture requirements.
And adjust irrigation during rainy weeks.
Malaysia’s weather means a good three-month watering plan must be flexible.
Do not program the same watering routine for 90 days and forget about it.
Plan for Pests Before They Arrive
Young leafy vegetables may attract caterpillars, snails, aphids, or other pests.
Fruiting crops may face different problems later.
Inspect plants regularly.
Look under leaves.
Check young shoots.
Remove badly damaged material where appropriate.
Good airflow and healthy plant spacing can prevent some problems from becoming severe.
Avoid waiting until Month 3 to investigate a pest that was visible in Month 1.
Think About Harvest Frequency
Different crops should be harvested differently.
Leafy greens may be harvested as whole plants or progressively, depending on the crop.
Okra should usually be picked while pods are still tender.
Cucumbers should not be left indefinitely on the vine.
Basil benefits from repeated harvesting.
Chillies can be picked at different stages depending on use.
Harvesting on time keeps the garden productive and prevents mature crops from simply occupying space without contributing to the kitchen.
A Simple 3-Month Example
For a small edible garden, your plan might look like this:
Month 1:
Plant chilli and brinjal seedlings. Direct sow okra and cucumber. Sow the first batch of bayam and sawi. Establish basil and mint. Install trellises and mulch.
Month 2:
Harvest the first leafy vegetables and herbs. Sow a second leafy batch. Begin training cucumber vines. Continue supporting chillies and brinjal. Replace any failed plants.
Month 3:
Harvest okra, cucumber, herbs, and later leafy batches. Chillies and brinjal may begin producing or approaching production. Remove finished crops, refresh planting areas, and start the next succession.
That gives you several types of harvest rather than waiting for one big crop.
Build Around Your Actual Capacity
The best garden is not the one with the most plants.
It is the one you can maintain.
If you only have 20 minutes a day, plan accordingly.
Five productive containers and one organised raised bed may give you more food than thirty neglected pots.
Consider:
watering time,
pest monitoring,
fertilising,
harvesting,
and cleaning.
A three-month garden should fit your life.
Review at the End of the Cycle
After three months, ask:
Which crops produced the most?
Which ones did your household actually eat?
Which needed too much work?
Which handled your sunlight well?
Which struggled with pests?
Which containers dried too quickly?
Which planting dates gave the best harvest?
Then design the next three months using what you learned.
That is how a home edible garden gradually becomes more productive.
At the end of the day, planning a three-month edible garden is less about creating a perfect calendar and more about building a continuous flow of crops at different stages. Start some vegetables for quick harvests, give longer-term fruiting plants time to establish, stagger your sowing dates, and replace crops as space becomes available. In Malaysia’s year-round growing climate, Month 3 does not need to mark the end of the garden — it can simply become the beginning of your next, better-planned cycle.
Planning your next 90 days of home-grown food? Tag @projectharvest.my on Instagram and show us your pots, raised beds, crop list, Week 1 setup, or what your garden looks like by Month 3. We would love to see how Malaysian gardeners turn a simple three-month plan into a steady supply of herbs, vegetables, and edible harvests at home.